
The Dental Bonding Procedure: A Step-by-Step Guide for Patients
Published on
June 28, 2026
<h2 style="margin:36px 0 14px 0;font-size:1.45em;color:#1F2A33;">Introduction</h2>
<p style="margin:0 0 16px 0;line-height:1.7;color:#333333;">Dental bonding is one of the most accessible cosmetic dental procedures available today. It offers patients a quick, affordable, and minimally invasive way to improve the appearance of their teeth. The procedure is typically completed in a single visit. Most patients leave the dental office with a transformed smile the same day.</p>
<p style="margin:0 0 16px 0;line-height:1.7;color:#333333;">Understanding the dental bonding procedure helps patients feel more comfortable and prepared. This guide provides a detailed, step-by-step explanation of what happens during a bonding appointment. It covers everything from the initial consultation to the final polish. Patients will know exactly what to expect at each stage.</p>
<div style="background:#F7F8F6;border-left:4px solid #3FA6A0;padding:16px 20px;margin:24px 0;border-radius:8px;">
<p style="margin:0;line-height:1.7;color:#333333;"><strong style="color:#1F2A33;">Key Insight:</strong> Dental bonding is typically a painless procedure. Many patients do not require any anesthesia. The entire process is designed to be comfortable and efficient.</p>
</div>
<h2 id="step-by-step-procedure" style="margin:36px 0 14px 0;font-size:1.45em;color:#1F2A33;">The Dental Bonding Procedure: A Step-by-Step Guide</h2>
<p style="margin:0 0 16px 0;line-height:1.7;color:#333333;">The dental bonding procedure follows a consistent sequence of steps. Each step is essential for achieving a natural-looking, durable result. The following outline describes the typical process.</p>
<h3 style="margin:26px 0 10px 0;font-size:1.15em;color:#1F2A33;">Step 1: Consultation and Treatment Planning</h3>
<p style="margin:0 0 16px 0;line-height:1.7;color:#333333;">The process begins with a consultation. The dentist evaluates the tooth or teeth being considered for bonding. The dentist discusses the patient's goals and expectations. X-rays or photographs may be taken. The dentist determines if bonding is the appropriate treatment or if another procedure would be more suitable.</p>
<h3 style="margin:26px 0 10px 0;font-size:1.15em;color:#1F2A33;">Step 2: Shade Selection</h3>
<p style="margin:0 0 16px 0;line-height:1.7;color:#333333;">The dentist selects a resin shade that matches the patient's natural teeth. This is a critical step. The resin must blend seamlessly with the surrounding teeth. A shade guide is used to find the closest match. Multiple shades may be combined to achieve the most natural appearance.</p>
<h3 style="margin:26px 0 10px 0;font-size:1.15em;color:#1F2A33;">Step 3: Tooth Preparation</h3>
<p style="margin:0 0 16px 0;line-height:1.7;color:#333333;">The tooth surface is prepared for bonding. This involves lightly roughening the enamel. A mild etching solution is applied. The etching creates microscopic pores in the enamel. These pores allow the bonding resin to adhere more effectively. The etching solution is rinsed off, and the tooth is dried. The tooth is kept isolated from moisture during the procedure to ensure a strong bond.</p>
<h3 style="margin:26px 0 10px 0;font-size:1.15em;color:#1F2A33;">Step 4: Application of Bonding Agent</h3>
<p style="margin:0 0 16px 0;line-height:1.7;color:#333333;">A thin layer of bonding agent is applied to the prepared tooth. This agent acts as an adhesive. It helps the composite resin bond securely to the tooth structure. The bonding agent is spread evenly over the prepared surface.</p>
<h3 style="margin:26px 0 10px 0;font-size:1.15em;color:#1F2A33;">Step 5: Resin Application and Sculpting</h3>
<p style="margin:0 0 16px 0;line-height:1.7;color:#333333;">The dentist applies the composite resin to the tooth. The resin is pliable and can be shaped and sculpted. The dentist uses specialized instruments to mold the resin into the desired shape. The resin is carefully contoured to match the natural tooth anatomy. The dentist creates a smooth, natural-looking surface. Multiple layers of resin may be applied to achieve the optimal appearance.</p>
<h3 style="margin:26px 0 10px 0;font-size:1.15em;color:#1F2A33;">Step 6: Curing (Hardening)</h3>
<p style="margin:0 0 16px 0;line-height:1.7;color:#333333;">Once the resin is properly shaped, it is hardened. A curing light is used for this purpose. The curing light emits a specific wavelength of light. This light activates a chemical reaction in the resin. The resin hardens and bonds to the tooth. The curing process takes only a few seconds per layer. The dentist may apply and cure multiple layers of resin.</p>
<h3 style="margin:26px 0 10px 0;font-size:1.15em;color:#1F2A33;">Step 7: Trimming and Polishing</h3>
<p style="margin:0 0 16px 0;line-height:1.7;color:#333333;">After the resin is fully cured, the dentist trims and shapes it further. Fine burs and discs are used to refine the contours. The dentist ensures the bite is comfortable and the tooth feels natural. The final step is polishing. The dentist uses polishing discs and pastes to create a natural sheen. The polished resin should match the luster of the surrounding teeth.</p>
<h3 style="margin:26px 0 10px 0;font-size:1.15em;color:#1F2A33;">Step 8: Bite Check and Final Adjustments</h3>
<p style="margin:0 0 16px 0;line-height:1.7;color:#333333;">The dentist checks the patient's bite. Adjustments are made if the bonding feels too high or affects the way the teeth come together. The patient may be asked to bite down and move their jaw. Final polishing is performed if any roughness is detected.</p>
<div style="overflow-x:auto;margin:24px 0;">
<table style="width:100%;border-collapse:collapse;border-radius:10px;overflow:hidden;box-shadow:0 2px 8px rgba(31,42,51,0.08);">
<thead>
<tr style="background:#1F2A33;color:#FFFFFF;">
<th style="padding:12px 14px;text-align:left;">Step</th>
<th style="padding:12px 14px;text-align:left;">Procedure</th>
<th style="padding:12px 14px;text-align:left;">Time Required</th>
</tr>
</thead>
<tbody>
<tr style="background:#FFFFFF;"><td style="padding:10px 14px;border-bottom:1px solid #E5E7EB;">1</td><td style="padding:10px 14px;border-bottom:1px solid #E5E7EB;">Consultation and Treatment Planning</td><td style="padding:10px 14px;border-bottom:1px solid #E5E7EB;">10-15 minutes</td></tr>
<tr style="background:#F7F8F6;"><td style="padding:10px 14px;border-bottom:1px solid #E5E7EB;">2</td><td style="padding:10px 14px;border-bottom:1px solid #E5E7EB;">Shade Selection</td><td style="padding:10px 14px;border-bottom:1px solid #E5E7EB;">3-5 minutes</td></tr>
<tr style="background:#FFFFFF;"><td style="padding:10px 14px;border-bottom:1px solid #E5E7EB;">3</td><td style="padding:10px 14px;border-bottom:1px solid #E5E7EB;">Tooth Preparation (Etching, Bonding Agent)</td><td style="padding:10px 14px;border-bottom:1px solid #E5E7EB;">5-10 minutes</td></tr>
<tr style="background:#F7F8F6;"><td style="padding:10px 14px;border-bottom:1px solid #E5E7EB;">4</td><td style="padding:10px 14px;border-bottom:1px solid #E5E7EB;">Resin Application and Sculpting</td><td style="padding:10px 14px;border-bottom:1px solid #E5E7EB;">15-25 minutes</td></tr>
<tr style="background:#FFFFFF;"><td style="padding:10px 14px;border-bottom:1px solid #E5E7EB;">5</td><td style="padding:10px 14px;border-bottom:1px solid #E5E7EB;">Curing (Hardening)</td><td style="padding:10px 14px;border-bottom:1px solid #E5E7EB;">2-5 minutes</td></tr>
<tr style="background:#F7F8F6;"><td style="padding:10px 14px;border-bottom:1px solid #E5E7EB;">6</td><td style="padding:10px 14px;border-bottom:1px solid #E5E7EB;">Trimming and Polishing</td><td style="padding:10px 14px;border-bottom:1px solid #E5E7EB;">10-15 minutes</td></tr>
<tr style="background:#FFFFFF;"><td style="padding:10px 14px;">7</td><td style="padding:10px 14px;">Bite Check and Final Adjustments</td><td style="padding:10px 14px;">5-10 minutes</td></tr>
</tbody>
</table>
</div>
<h2 id="what-patients-experience" style="margin:36px 0 14px 0;font-size:1.45em;color:#1F2A33;">What Patients Experience During the Procedure</h2>
<p style="margin:0 0 16px 0;line-height:1.7;color:#333333;">Understanding what patients feel during the bonding procedure helps reduce anxiety. The experience is generally comfortable and painless.</p>
<p style="margin:0 0 16px 0;line-height:1.7;color:#333333;"><strong style="color:#1F2A33;">Sensation:</strong> Most patients experience no pain during bonding. No drilling is involved, so there is no vibration or discomfort. Some patients may feel slight sensitivity during the etching process. This is mild and passes quickly. The curing light does not generate heat or discomfort.</p>
<p style="margin:0 0 16px 0;line-height:1.7;color:#333333;"><strong style="color:#1F2A33;">Anesthesia:</strong> Anesthesia is generally not required for bonding. The procedure does not involve drilling or penetrating the tooth structure. Patients who are particularly sensitive may request local anesthesia. Most patients, however, find anesthesia unnecessary.</p>
<p style="margin:0 0 16px 0;line-height:1.7;color:#333333;"><strong style="color:#1F2A33;">Duration:</strong> The entire procedure typically takes 30 to 60 minutes per tooth. More complex cases may require additional time. Patients should plan for a one-hour appointment for a single tooth. Multiple teeth may require two hours or more.</p>
<aside style="border-left:4px solid #3FA6A0;padding:12px 16px;background:#F7F8F6;border-radius:6px;margin:24px 0;">
<strong style="color:#1F2A33;">Key takeaway:</strong> Patients should communicate any discomfort to their dentist. Most bonding procedures are completely comfortable. Open communication ensures the best possible experience.
</aside>
<h2 id="immediate-aftercare" style="margin:36px 0 14px 0;font-size:1.45em;color:#1F2A33;">Immediate Aftercare Following Bonding</h2>
<p style="margin:0 0 16px 0;line-height:1.7;color:#333333;">The bonding procedure is complete when the final polish is applied. Patients can resume normal activities immediately. However, a few precautions are recommended for the first 24 to 48 hours.</p>
<ul style="margin:0 0 20px 0;padding:0 0 0 20px;line-height:1.7;color:#333333;">
<li><strong style="color:#1F2A33;">Avoid Staining Foods and Beverages:</strong> Coffee, tea, red wine, and dark-colored sodas can stain the new bonding. Patients should avoid these for the first 48 hours. If consumed, patients should rinse with water immediately afterward.</li>
<li><strong style="color:#1F2A33;">Avoid Hard or Sticky Foods:</strong> Hard foods can chip the new bonding. Sticky foods can pull at the resin. Patients should avoid nuts, hard candy, caramels, and chewing gum for the first 24 hours.</li>
<li><strong style="color:#1F2A33;">Maintain Good Oral Hygiene:</strong> Brushing and flossing should continue as usual. Use a soft-bristled toothbrush to avoid scratching the resin. Be gentle around the bonded area.</li>
<li><strong style="color:#1F2A33;">Be Aware of Sensitivity:</strong> Some patients experience mild sensitivity to hot or cold. This is normal and typically subsides within a few days. Over-the-counter pain relievers can be used if needed.</li>
</ul>
<h2 id="long-term-maintenance" style="margin:36px 0 14px 0;font-size:1.45em;color:#1F2A33;">Long-Term Maintenance for Dental Bonding</h2>
<p style="margin:0 0 16px 0;line-height:1.7;color:#333333;">Proper maintenance extends the life of dental bonding. Patients should adopt habits that protect the resin and prevent damage.</p>
<p style="margin:0 0 16px 0;line-height:1.7;color:#333333;"><strong style="color:#1F2A33;">Regular Dental Check-ups:</strong> Visit the dentist every six months. The dentist will examine the bonding for wear, chips, or discoloration. Professional cleaning will remove plaque and surface stains. The dentist can polish the bonding to restore its original luster.</p>
<p style="margin:0 0 16px 0;line-height:1.7;color:#333333;"><strong style="color:#1F2A33;">Avoid Teeth Grinding:</strong> Patients with bruxism should wear a nightguard. The grinding force can crack or wear down the resin. A custom-fitted nightguard protects both the bonding and the natural teeth.</p>
<p style="margin:0 0 16px 0;line-height:1.7;color:#333333;"><strong style="color:#1F2A33;">Limit Staining Substances:</strong> Continue to limit coffee, tea, red wine, and tobacco. These substances cause gradual discoloration. Using a straw when consuming dark beverages can reduce contact with front teeth.</p>
<p style="margin:0 0 16px 0;line-height:1.7;color:#333333;"><strong style="color:#1F2A33;">Avoid Using Teeth as Tools:</strong> Never use teeth to open packages, bite nails, or hold objects. These habits can chip or fracture the bonding.</p>
<h2 id="faqs" style="margin:36px 0 14px 0;font-size:1.45em;color:#1F2A33;">Frequently Asked Questions About the Dental Bonding Procedure</h2>
<div style="margin:0 0 16px 0;border:1px solid #E5E7EB;border-radius:10px;background:#FFFFFF;overflow:hidden;">
<div style="background:#F7F8F6;padding:12px 18px;"><p style="margin:0;font-weight:bold;color:#1F2A33;">Does dental bonding hurt?</p></div>
<div style="padding:12px 18px;"><p style="margin:0;line-height:1.6;">Dental bonding is generally painless. Most patients do not require anesthesia. The procedure involves no drilling or cutting of the tooth. Some patients may experience mild sensitivity during the etching process, but this is brief and mild.</p></div>
</div>
<div style="margin:0 0 16px 0;border:1px solid #E5E7EB;border-radius:10px;background:#FFFFFF;overflow:hidden;">
<div style="background:#F7F8F6;padding:12px 18px;"><p style="margin:0;font-weight:bold;color:#1F2A33;">How long does the bonding procedure take?</p></div>
<div style="padding:12px 18px;"><p style="margin:0;line-height:1.6;">The procedure typically takes 30 to 60 minutes per tooth. A single tooth can be completed in about one hour. Multiple teeth may require a longer appointment of two hours or more.</p></div>
</div>
<div style="margin:0 0 16px 0;border:1px solid #E5E7EB;border-radius:10px;background:#FFFFFF;overflow:hidden;">
<div style="background:#F7F8F6;padding:12px 18px;"><p style="margin:0;font-weight:bold;color:#1F2A33;">Can I eat immediately after dental bonding?</p></div>
<div style="padding:12px 18px;"><p style="margin:0;line-height:1.6;">Patients are advised to avoid eating for at least one hour after the procedure to allow the resin to fully set. For the first 24 to 48 hours, patients should avoid hard, sticky, or staining foods and beverages.</p></div>
</div>
<div style="margin:0 0 16px 0;border:1px solid #E5E7EB;border-radius:10px;background:#FFFFFF;overflow:hidden;">
<div style="background:#F7F8F6;padding:12px 18px;"><p style="margin:0;font-weight:bold;color:#1F2A33;">Will my bonding look natural?</p></div>
<div style="padding:12px 18px;"><p style="margin:0;line-height:1.6;">Yes, dental bonding is designed to look natural. The dentist carefully selects a shade that matches the surrounding teeth. The resin is sculpted and polished to match the shape and sheen of natural enamel.</p></div>
</div>
<div style="margin:0 0 20px 0;border:1px solid #E5E7EB;border-radius:10px;background:#FFFFFF;overflow:hidden;">
<div style="background:#F7F8F6;padding:12px 18px;"><p style="margin:0;font-weight:bold;color:#1F2A33;">Can bonding be done on multiple teeth in one visit?</p></div>
<div style="padding:12px 18px;"><p style="margin:0;line-height:1.6;">Yes, multiple teeth can be bonded in a single visit. The dentist will complete the bonding one tooth at a time. Patients should plan for a longer appointment when multiple teeth are being treated.</p></div>
</div>
<h2 id="about-the-dentist" style="margin:36px 0 14px 0;font-size:1.45em;color:#1F2A33;">About the Dentist</h2>
<div style="border-top:2px solid #3FA6A0;padding:20px 0 0 0;margin:24px 0 0 0;">
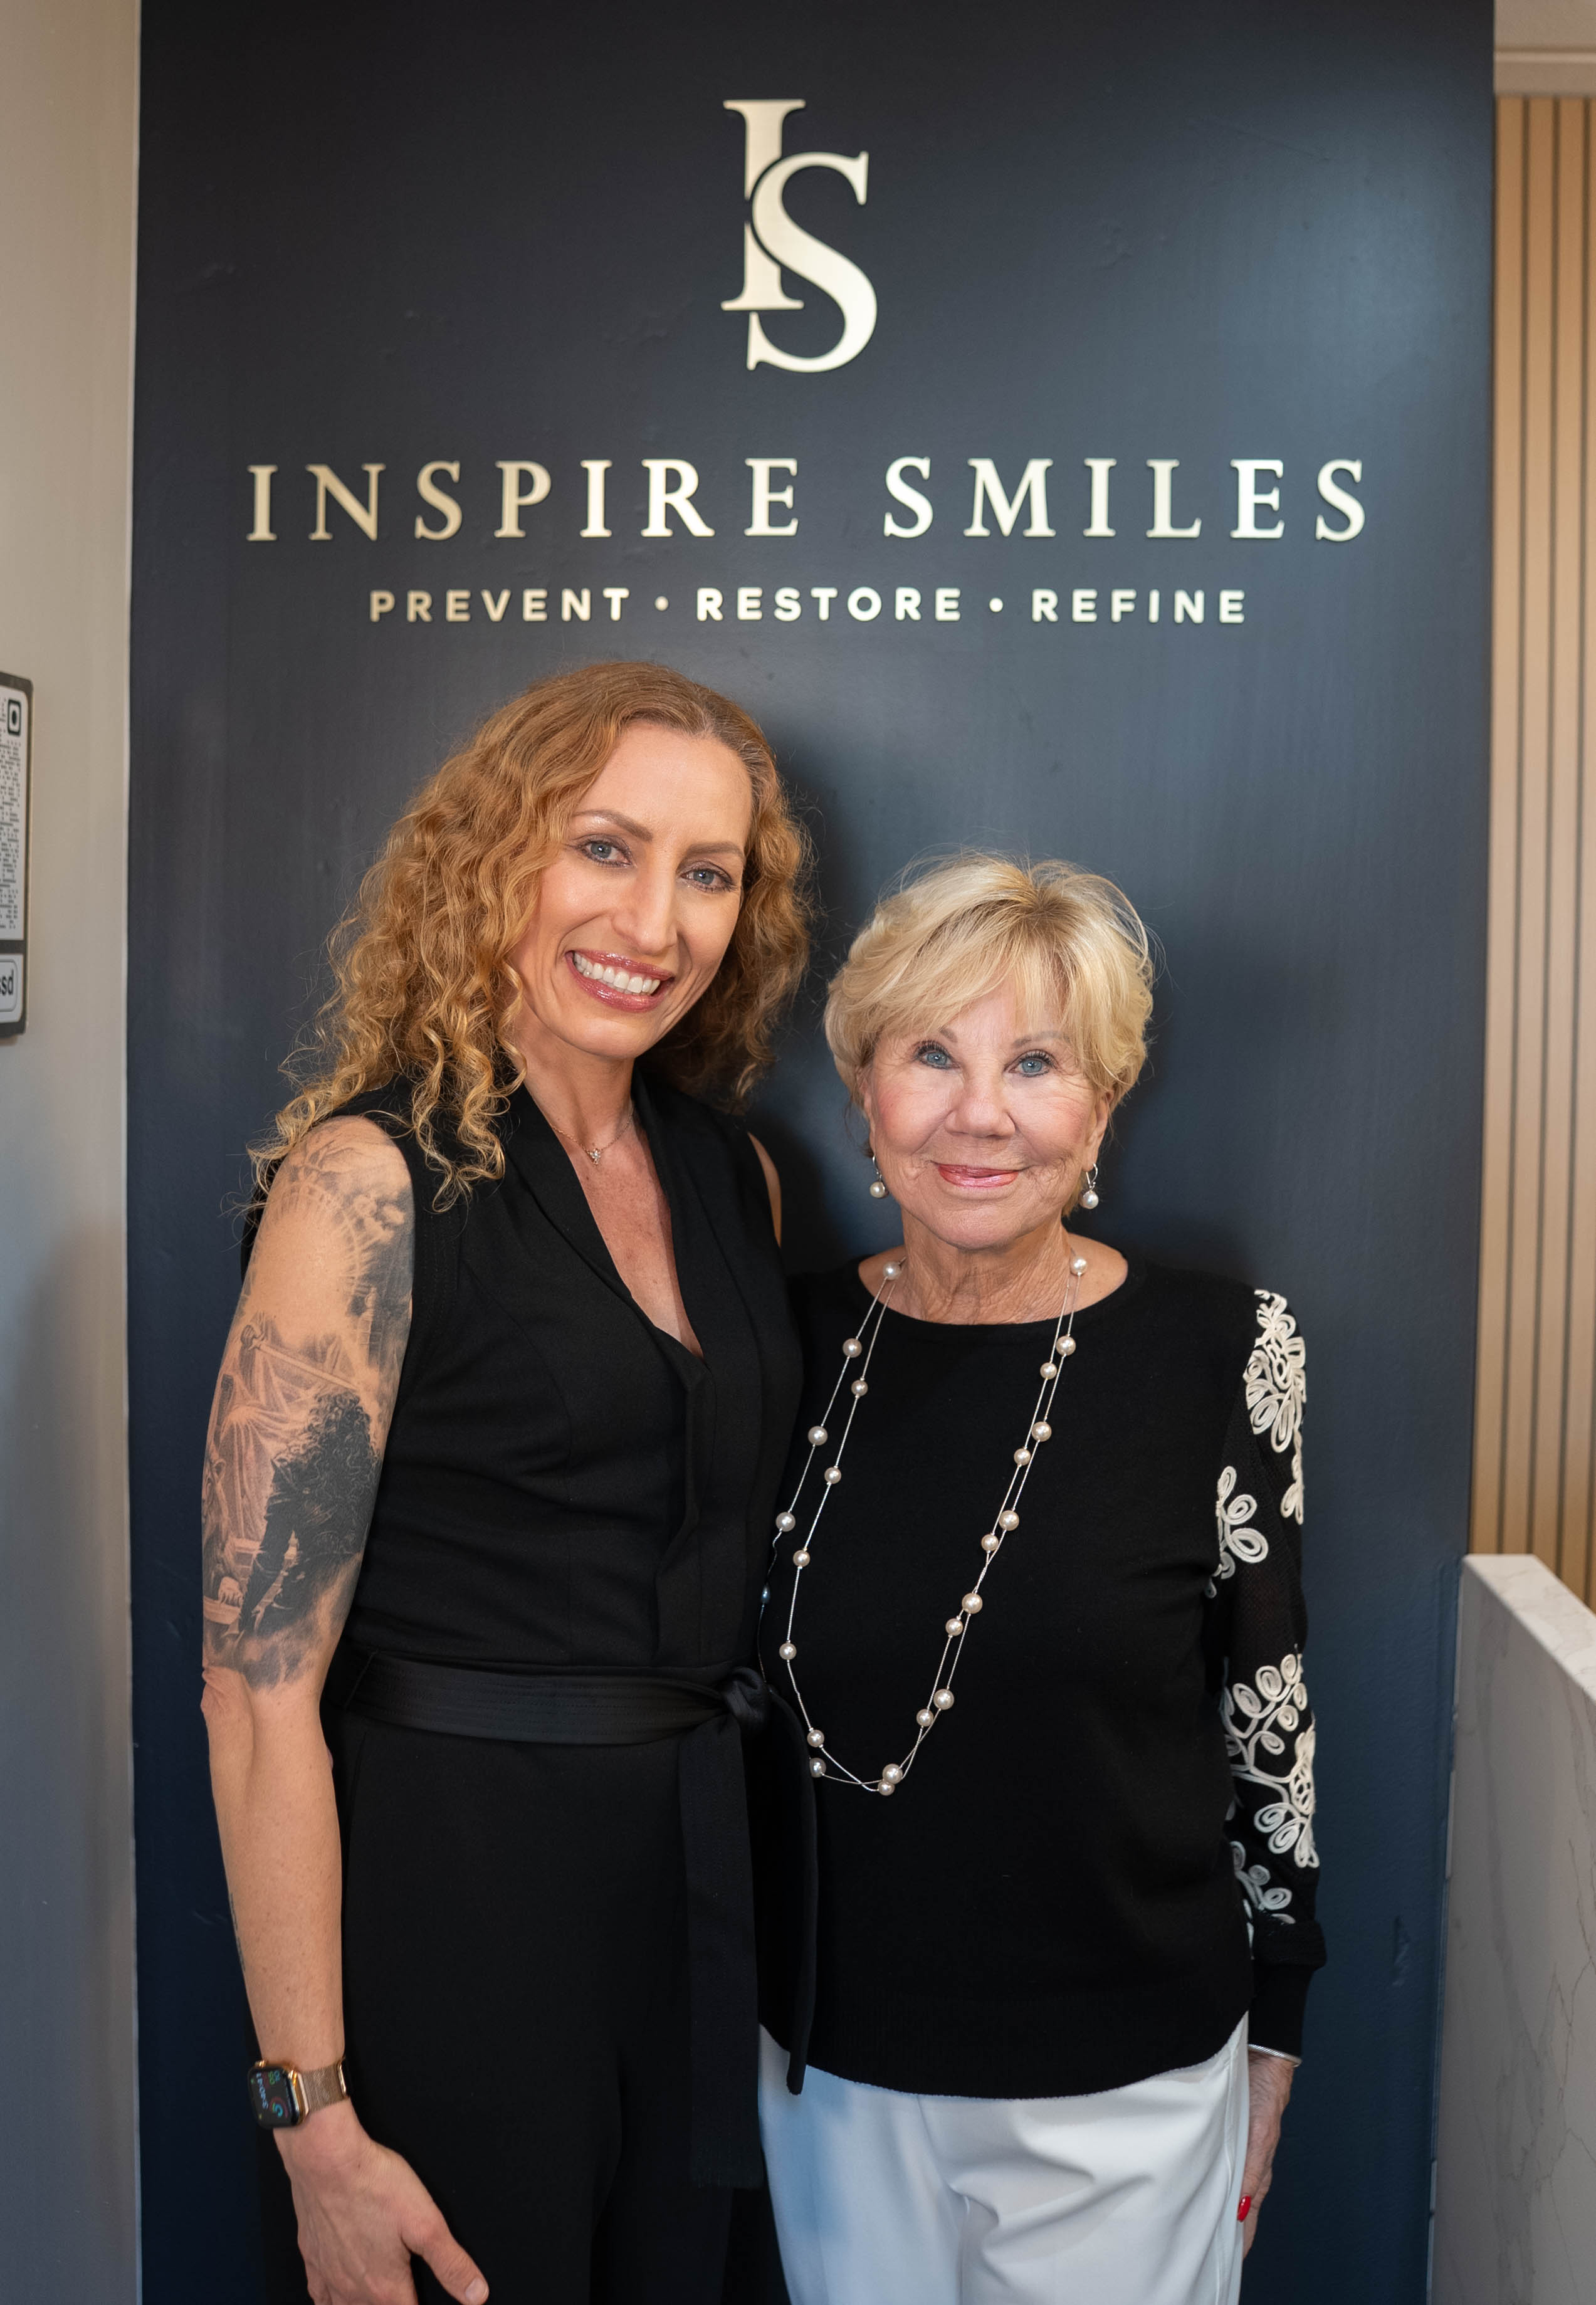
<p style="margin:0 0 12px 0;line-height:1.7;color:#333333;"><strong style="color:#1F2A33;">Dr. Elona Gaball, DDS, CHPC</strong> is a cosmetic and restorative dentist with over 25 years of clinical experience. She leads <a href="https://www.inspiresmilessd.com/" style="color:#3FA6A0;text-decoration:none;">Inspire Smiles</a> in <strong style="color:#1F2A33;">Solana Beach, CA</strong>, serving patients throughout San Diego's North Coast.</p>
<p style="margin:0 0 12px 0;line-height:1.7;color:#333333;">Dr. Gaball is certified in Invisalign and has completed advanced training through the UCLA Aesthetic Continuum and a UCLA TMD/Orofacial Pain residency. Her philosophy of care is rooted in the principles of love, honesty, and wellness. She is an Accreditation Candidate Member of the American Academy of Cosmetic Dentistry.</p>
<p style="margin:0;line-height:1.7;color:#333333;"><a href="https://www.inspiresmilessd.com/about/who-we-are" style="color:#3FA6A0;text-decoration:none;">Learn more about Dr. Gaball</a></p>
</div>
<h2 id="sources" style="margin:36px 0 14px 0;font-size:1.45em;color:#1F2A33;">Sources and References</h2>
<ul style="margin:0 0 32px 0;padding:0 0 0 20px;line-height:1.8;color:#333333;">
<li><a href="https://www.ada.org" rel="nofollow noopener noreferrer" target="_blank" style="color:#3FA6A0;text-decoration:none;">American Dental Association (ADA)</a></li>
<li><a href="https://www.ncbi.nlm.nih.gov/pmc/articles/PMC4852932/" rel="nofollow noopener noreferrer" target="_blank" style="color:#3FA6A0;text-decoration:none;">PubMed Central — Composite Resin Bonding Techniques</a></li>
<li><a href="https://www.aacd.com" rel="nofollow noopener noreferrer" target="_blank" style="color:#3FA6A0;text-decoration:none;">American Academy of Cosmetic Dentistry (AACD)</a></li>
</ul>
<p style="margin:0 0 32px 0;font-size:0.9em;color:#6B7280;font-style:italic;">Last reviewed: June 2026</p>